Create a group
A group is a conversation with more than two people in it. Creating one takes two steps: pick who is in it, then give it a name. Everything else — description, photo, permissions — can be changed later.
Start a new group
| Platform | How to get there |
|---|---|
| Web | Open the menu button at the top of the conversation list, then New Group |
| iOS and Android | Open the menu button at the top of Conversations to show the Actions sheet, then New group |
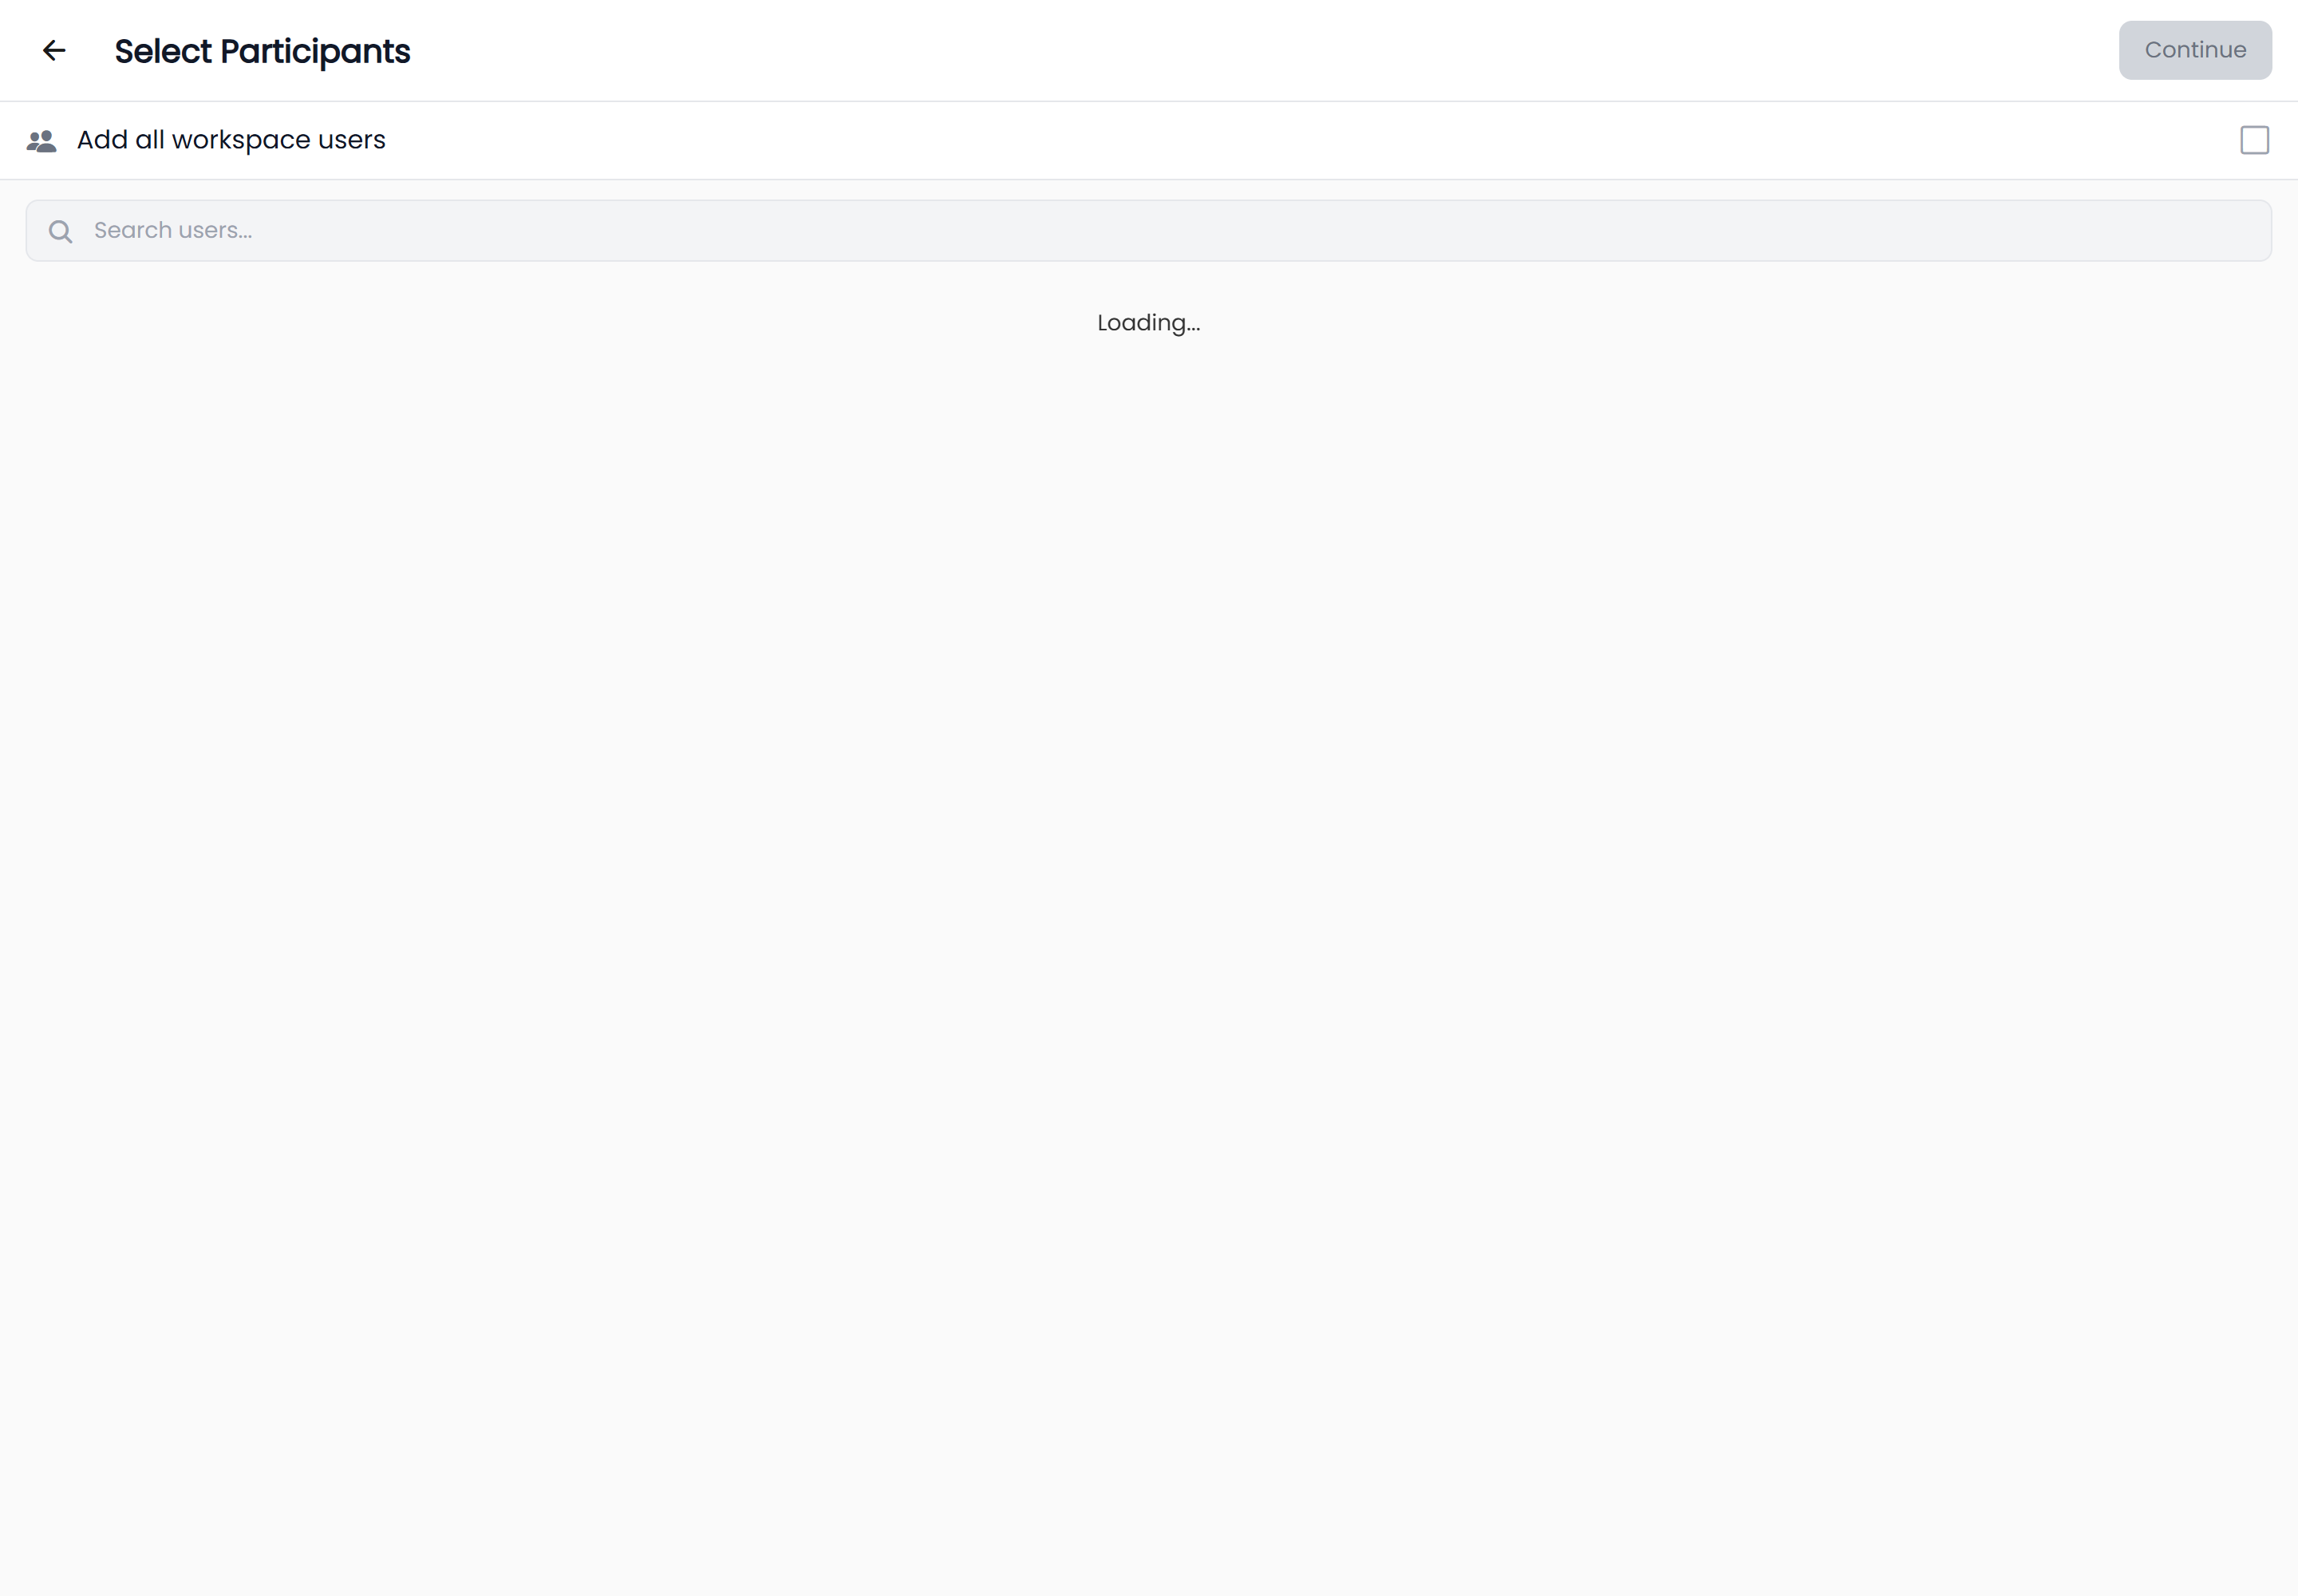
On the web the whole flow runs in a panel that slides over the conversation list, headed New group and then Group Details. On iOS and Android it runs as two full screens, Select Participants and then New Group. The choices you make are identical either way.
Step 1 — choose the participants
- Search for a person by name in the search box.
- Select a name to add them. Selected people collect into a Selected row above the search box, each as a removable chip.
- Repeat until everyone you want is selected. Deselect all clears the row and starts you over.
- Select Continue.
Continue stays greyed out until you have selected at least one person. You do not add yourself — you are always in a group you create.
Adding everyone at once
Above the list is a checkbox row, Add all workspace users. Turn it on and the individual list is replaced with the message "All workspace users will be added to this group". You can then continue straight away without picking anyone by hand.
Add all workspace users is evaluated when the group is created, not stored as a rule. People who join the workspace afterwards are not added automatically — add them yourself later.
Step 2 — name, description and photo
- Select the circular avatar at the top of the form to choose a group photo. It shows a camera badge, and a spinner while the picture uploads. This step is optional.
- Fill in Group name. The field prompts you with
Enter group name. A name is required, and it can be up to 100 characters long. - Fill in Description, marked (optional), which prompts you with
What's this group about?. It is a multi-line field, so a couple of sentences is fine. - Check the line below the fields. It reads either "All workspace users" or a count such as "3 participants selected", so you can confirm the group before you create it.
- Select the create button.
The button is labelled Create Group on iOS and Android, and Create group on the web.
The create button is disabled until the name is filled in and at least one participant is selected. While the group is being created it shows a spinner instead of its label.
What happens next
HushChat opens the new group for you straight away — as a conversation on iOS and Android, and as the selected conversation on the web.
Inside the group you will see two system messages at the top: one recording that the group was created and by whom, and one recording that you added the first participants. These messages are part of the conversation history and everyone in the group can see them.
You are the group's administrator. Whoever creates a group starts as its only admin, which is what gives you access to Add Participants, Invite via Link and Group Settings in the group's info panel. You can promote other people later — see Manage participants.
If something goes wrong
| What you see | What it means |
|---|---|
No results under the search box | Nobody in the workspace matches what you typed. Clear the search and try a shorter term. |
Error loading data (tap to retry) | The list of people could not be fetched. Select the message to try again. |
| A Couldn't create group notice | The group was not created. Nothing was saved, so you can adjust the form and press create again. |
Search only finds people you are allowed to see. If your workspace has Customer mode turned on, agents and customers see a narrowed list of each other, so a colleague you expect to find may not appear. See Workspace settings for what that mode changes.
Groups you can be added to
You do not have to create a group to be in one. You can also be added by an existing group administrator, or join through a link someone shares with you — see Group invite links.