Choose or switch workspace
One HushChat account can belong to several workspaces, and each keeps its own conversations, members and settings. You are always working inside exactly one of them at a time.
Choose a workspace when you sign in
Straight after you sign in, HushChat shows Choose a workspace — "Enter your workspace name to continue, or create a new one for your team".
- Type the name into Workspace name, which prompts you with
Enter workspace name. - Select Continue.
Only workspaces you belong to can be opened; anything else gives No workspace found with that name.
Capitalisation does not have to match.
Switch to another workspace later
You do not have to sign out to move between workspaces.
- Open Profile — the sidebar entry on the web, the bottom tab on iOS and Android.
- Select Change workspace, described as "Switch to another workspace".
- The screen Change Workspace appears — "Switch between your workspaces to access different environments." A card at the top shows Current: followed by the workspace you are in now (or "No workspace selected"), and the field is pre-filled with that name.
- Replace it with the workspace you want and select Switch Workspace.
The Change workspace row only appears when you belong to more than one workspace. If you are a member of just one, there is nothing to switch to and the row is hidden.
On the web, switching reloads HushChat completely so nothing from the previous workspace is left behind. On iOS and Android you are simply returned to your conversations in the new workspace. Either way the switch is clean — you are not signed out.
Messages you may see
| Message | Meaning |
|---|---|
No workspace found with that name | You are not a member of a workspace with that name, or it is spelled differently |
This workspace is pending approval. You cannot switch to it yet. | Your place in that workspace is not finished — you cannot switch straight into it |
Your access to this workspace has been suspended. Please contact support. | Your membership there has been suspended; other workspaces still work |
Typing the workspace you are already in does nothing — HushChat simply leaves you where you are.
Create a workspace
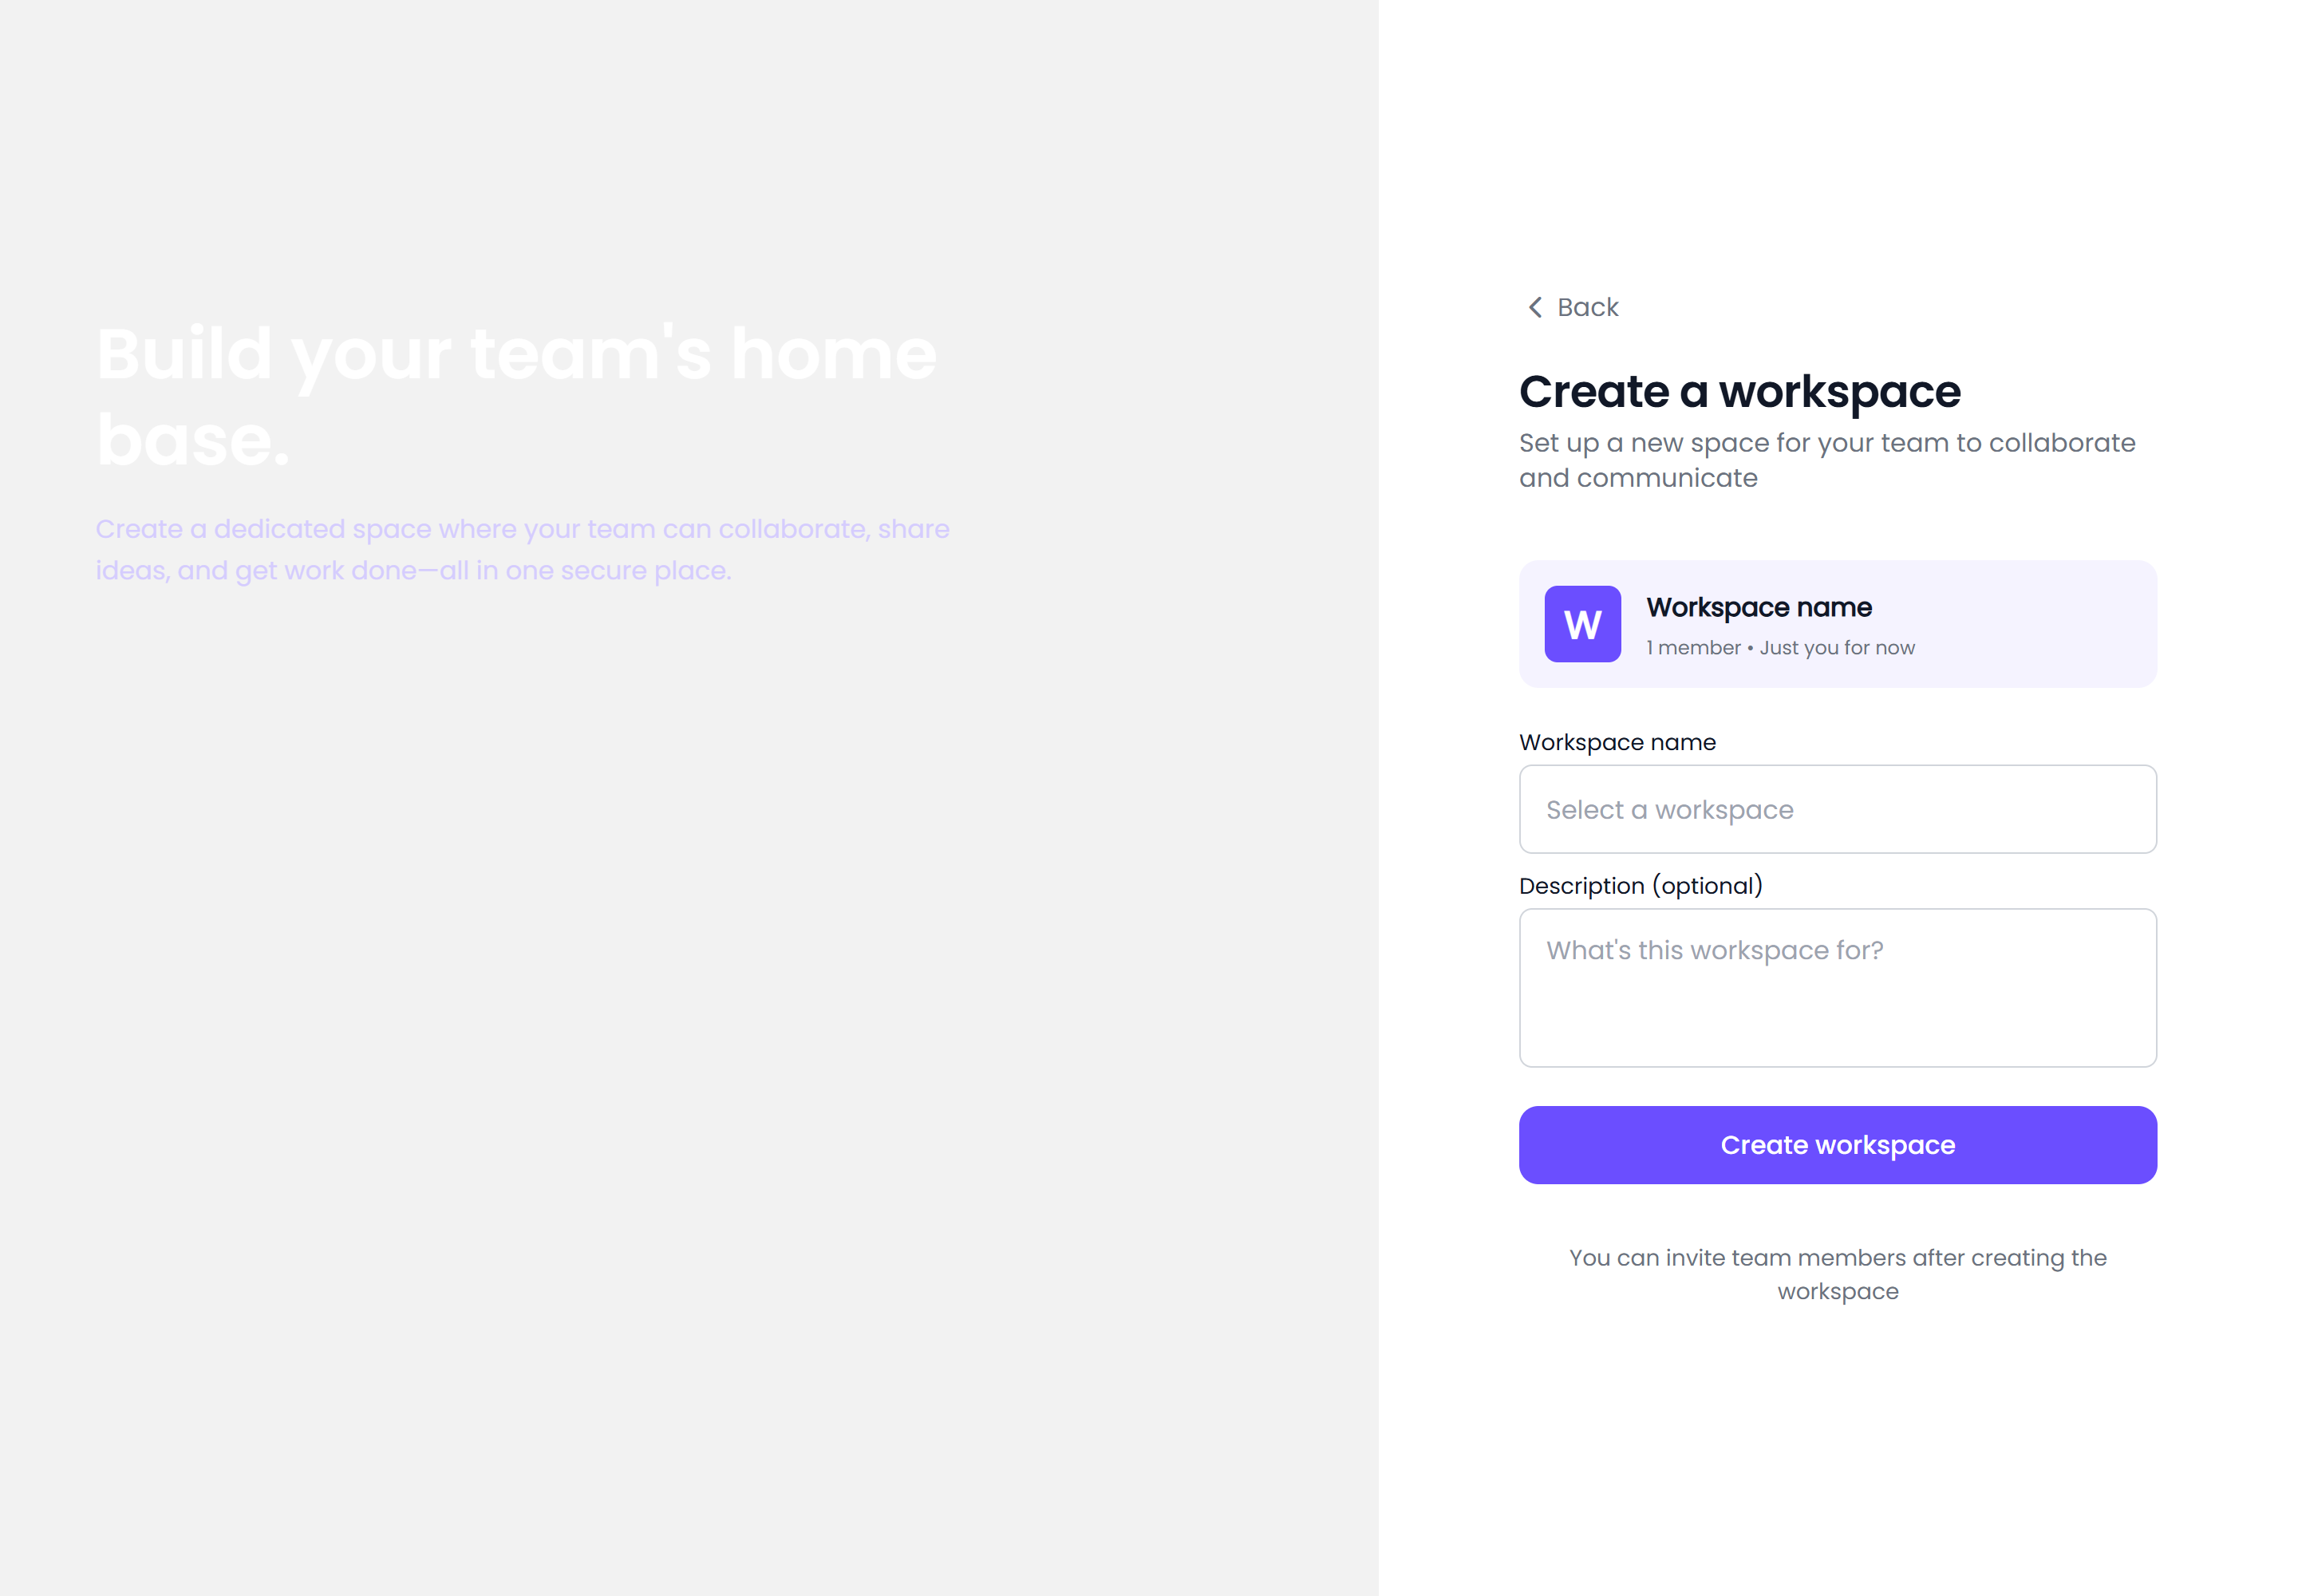
If your account is allowed to create workspaces, the workspace picker shows + Create new workspace under Continue. Selecting it opens Create a workspace — "Set up a new space for your team to collaborate and communicate".
- Type a name into Workspace name. A preview card above the form shows the name as it will look, with "1 member • Just you for now".
- Optionally fill in Description (optional), which prompts you with
What's this workspace for?. - Select Create workspace. While it works the button reads Creating....
The footer reminds you: "You can invite team members after creating the workspace".
Naming rules
| Rule | Message if you break it |
|---|---|
| A name is required | Workspace name is required |
| Letters, numbers and underscores only — no spaces or hyphens | Workspace name can only contain letters, numbers, and underscores |
| At most 50 characters | Workspace name must not exceed 50 characters |
| Description at most 200 characters | Description must not exceed 200 characters |
Names are unique regardless of case, so a name that only differs from an existing one by capitalisation is refused.
What happens next
HushChat confirms with "Create workspace request sent. we'll notify you once it's approved." and returns you to the workspace picker. Behind that message, two things are true of every new workspace:
- You are its administrator. Whoever creates a workspace holds the administrator role in it, so you can invite people and change its settings once it is running.
- It is created as a request. Unless your account holds the permission to create workspaces outright — the same permission that puts + Create new workspace on the picker in the first place — the workspace waits for approval before anybody can open it.
A workspace that is still waiting for approval does not appear in your workspace list at all, so
typing its name gives No workspace found with that name. That is expected — try again once it has
been approved.
Once the workspace is live, sign in and choose it by name, then start adding people. Setting up members, roles and workspace-wide rules is covered by the Workspace settings section.